How to Convert Drawings into 3D Models?
In modern design and manufacturing, converting drawings into 3D models has become an essential part of the process. Whether in architecture, industrial design, or game development, 3D models offer designers more intuitive and realistic visualizations. This process not only boosts efficiency but also unlocks endless possibilities for creative design. This article will delve into how to convert drawings into 3D models, detailing the tools and techniques required for each step.
Understanding the Types and Purposes of Drawings
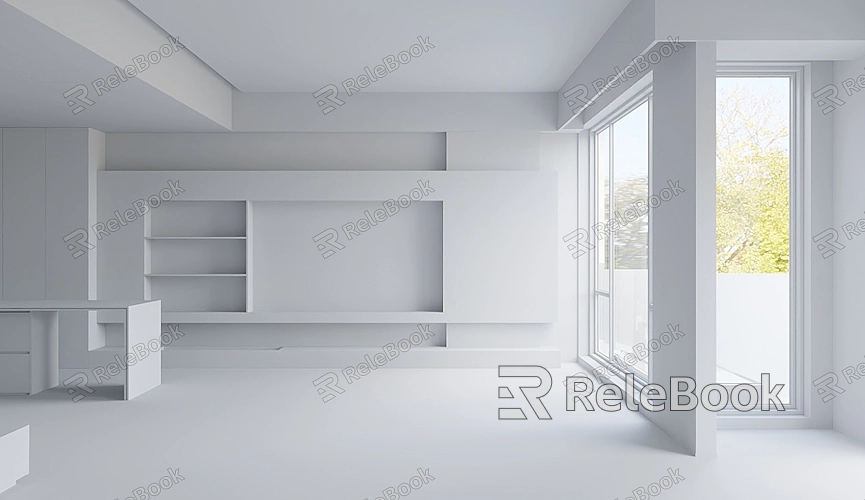
Before beginning the process of converting a drawing into a 3D model, it’s important to understand the type of drawing you’re working with. Drawings can range from floor plans, perspective views, sketches, and detailed design blueprints, each requiring different steps and methods for conversion into a 3D model.
Floor plans typically include layouts used in architectural design or mechanical parts in engineering. These drawings require precise measurements and proportions, which must be accurately maintained during the 3D modeling process. Sketches, on the other hand, tend to be more creative and freeform, making them ideal for artistic creation or concept design. Perspective views and detailed design drawings often already contain three-dimensional information or intricate details, making them easier to translate directly into a model.
Understanding the type and purpose of the drawing will help you select the appropriate software and methods in the modeling process.
Choosing the Right Modeling Software
Selecting the right modeling software is a crucial step in converting a drawing into a 3D model. There are numerous 3D modeling programs available, each with its own unique features and suitable use cases. Common options include AutoCAD, SketchUp, Blender, and 3ds Max.
AutoCAD is a powerful engineering design tool widely used in architecture and mechanical design, especially suitable for converting floor plans into accurate 3D models. SketchUp is known for its user-friendly interface and extensive plugin support, making it ideal for quickly generating 3D models for architectural or interior design. Blender is a free and open-source program widely used in artistic creation and animation, making it a great choice for transforming sketches into detailed models. Meanwhile, 3ds Max is commonly used in game development and film production, ideal for creating complex, highly realistic 3D models.
Choosing the right modeling software depends on the complexity of the drawing, the level of accuracy required, and the intended final use.
Importing the Drawing File
After choosing the appropriate software, the next step is to import the drawing file into the 3D modeling program. Most 3D modeling software supports various file formats for import, such as DWG, DXF, SVG, and more.
When importing, ensure that the scale and unit settings are correct to avoid affecting the subsequent modeling process. Some software, like AutoCAD, allows users to adjust scale and units directly during import, which helps maintain control over the model’s dimensions. Once imported, the drawing will typically appear in the software’s workspace as a reference for creating the 3D model.
Creating Basic Shapes
Once the drawing is imported, the next step is to create basic three-dimensional shapes. This process, often referred to as “building geometry,” is crucial for expanding a two-dimensional plane into three-dimensional space.
In software like AutoCAD or SketchUp, you can directly create 3D shapes by extruding or revolving 2D figures. For instance, you can use the extrusion tool to extend a 2D rectangle into a rectangular prism or use the revolve tool to spin a 2D profile into a 3D cylinder.
This process requires a good sense of spatial visualization and constant reference to the original drawing to ensure that the shape and dimensions of the model align with the design intent.
Adding Details and Textures
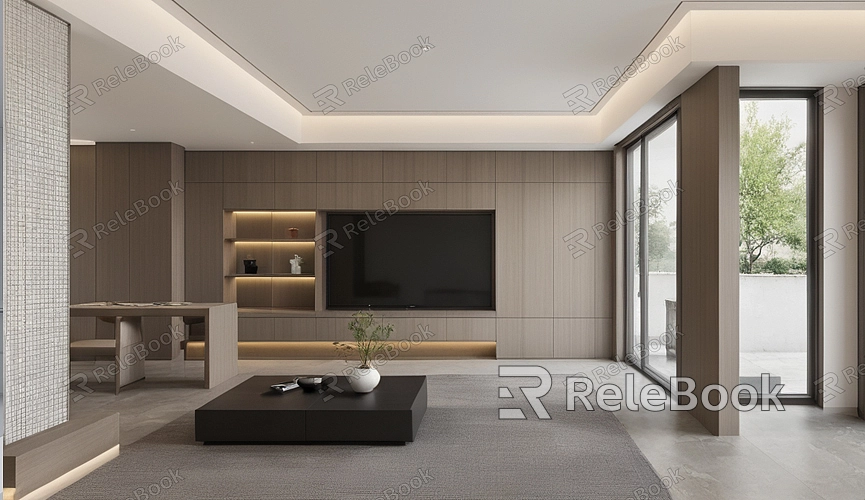
After creating the basic shapes, the next step is to add details and textures to make the 3D model more realistic. Details can include the model’s edges, surfaces, and smaller components, typically added manually using tools within the modeling software.
Textures can be added through mapping in programs like Blender or 3ds Max, where different materials are applied to the model’s surface to make it look more like a real object. For example, applying a wood grain texture to a table model will make it resemble a real wooden product.
Additionally, lighting and shadow effects can be used to enhance the model’s visual appeal, making it more three-dimensional and realistic.
Adjusting and Optimizing
After the initial creation of the model, the next step is to adjust and optimize it. Adjustments may include tweaking the model’s proportions, level of detail, and texture precision.
Optimization refers to reducing the model’s polygon count, making it easier to render and load while retaining details. This step is particularly crucial for models intended for use in real-time environments, such as in games or virtual reality projects.
Most modeling software offers automatic optimization tools, allowing users to quickly optimize models by adjusting a few parameters. Additionally, you can manually refine various parts of the model to further improve its quality and performance.
Exporting the 3D Model
Finally, after completing the model, you can export it into common 3D model formats like OBJ, STL, or FBX for use in other programs or directly in real-world projects.
When exporting, choose the appropriate format and resolution based on the final intended use. For example, if the model is intended for 3D printing, STL format is the most common choice; whereas, if it’s for use in a game engine, you might need to export it as an FBX to support more complex animations and physics.
Before exporting, use the software’s built-in preview function to check the final model and ensure that the exported file meets your expectations.
Converting drawings into 3D models is a process that combines technical skills with creative insight. It requires not only proficiency in operation but also a deep understanding of design. By choosing the right software and methods, and understanding the details of each step, you can easily transform floor plans or sketches into realistic 3D models, adding a new dimension to your projects.If you’re looking for more refined 3D models and textures, visit the Relebook website to download the resources you need and enhance your creative journey.
FAQ
What types of drawings are easier to convert into 3D models?
Detailed floor plans and perspective drawings are usually easier to convert into 3D models because they already contain precise measurement and proportion information. Sketches can also be converted but may require more manual adjustments.
Can I use free software to convert drawings into 3D models?
Yes, Blender is a powerful free modeling software suitable for creating most 3D models. Other options, like SketchUp, also offer free versions suitable for architectural and interior design.
What should I pay attention to when importing drawings?
Ensure that the scale and unit settings are correct when importing. Additionally, check if the lines in the drawing are complete and continuous, which is crucial for the subsequent modeling process.
How do I choose the right 3D model format for export?
Choose the format based on the final intended use. STL is ideal for 3D printing, OBJ is a common universal format, and FBX is suitable for game development and complex animations.
